How to Mount a Starlink High Performance Dish to Your Building – A Step-by-Step Guide
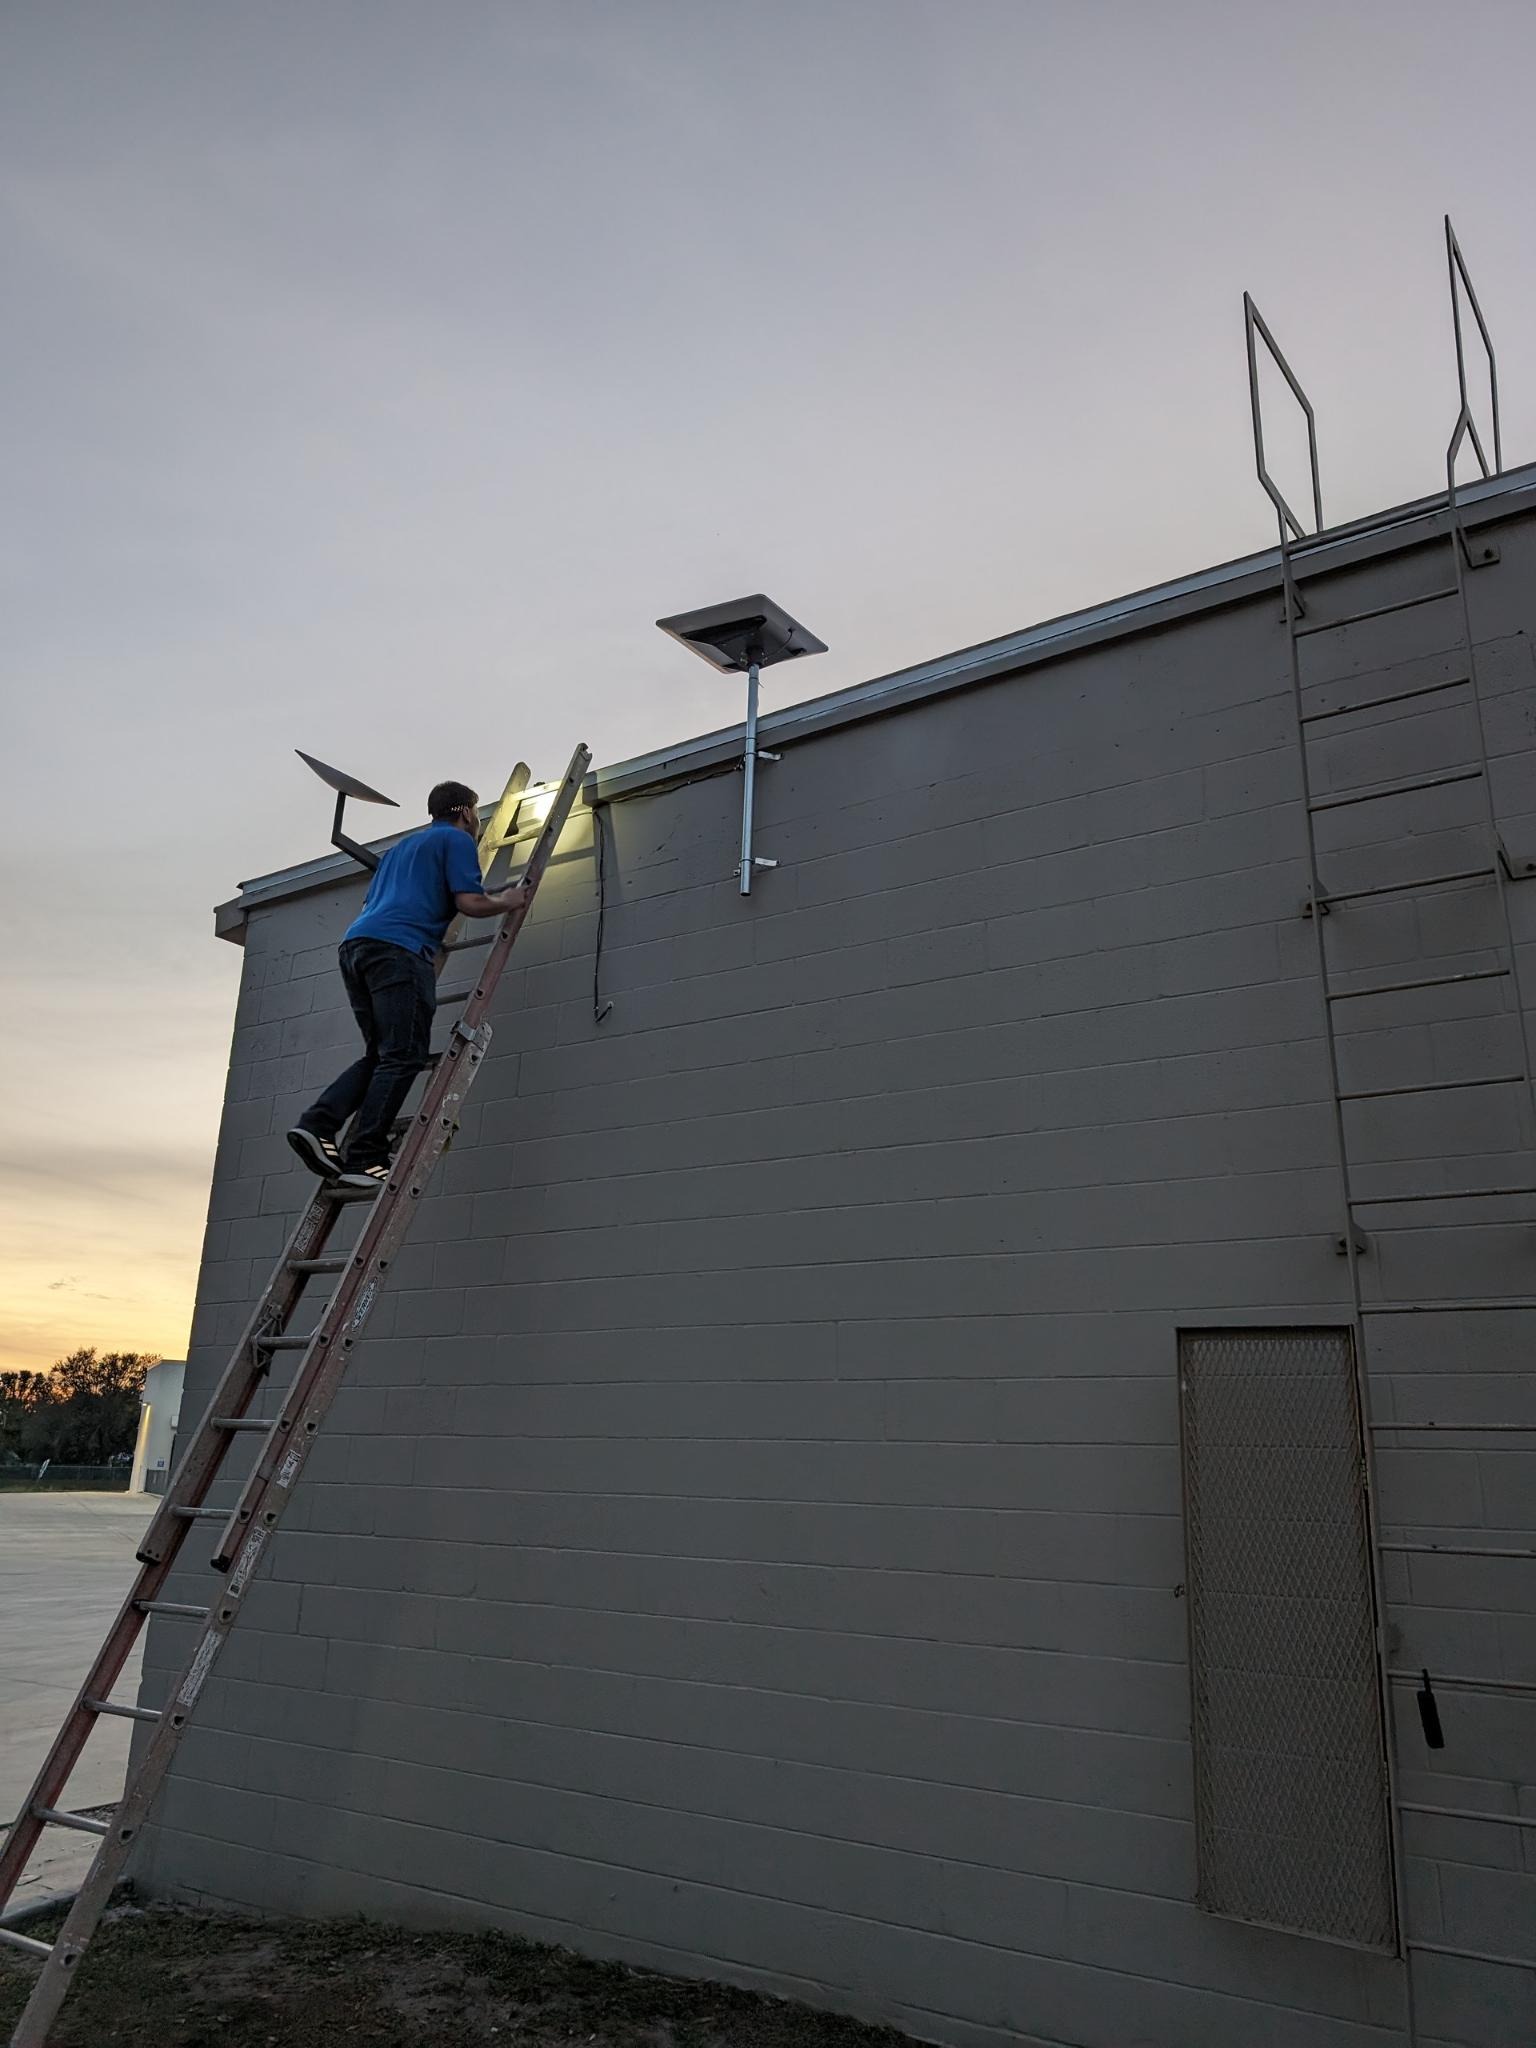
Hey there, fellow tech enthusiasts! Today, I’m super excited to share with you a much-needed guide on mounting a Starlink High Performance Dish to the side of your building – all without the worry of damaging your precious roof. This is for all of you who, like me, are searching for a sturdy, reliable, and cost-effective solution. So, let’s dive right in! What You’ll Need: Getting Started: Location, Location, Location Before anything else, it’s crucial to find the perfect spot for your Starlink dish. You’re aiming for a clear, unobstructed view of the sky. In my case, facing north was the key, but this might vary based on your location. The Starlink App comes in handy here, offering a neat tool to help pinpoint the ideal installation spot. Step-by-Step Installation: Enjoy Your High-Speed Connection! Once everything is set up, you’re ready to enjoy the blazing-fast internet speeds that Starlink offers. This setup not only guarantees a robust connection but also protects your roof from any potential damage. I hope this guide helps you in your Starlink journey. If you’ve got any questions or additional tips, feel free to drop them in the comments. Let’s keep the conversation going!
