Hey there, fellow tech enthusiasts! Today, I’m super excited to share with you a much-needed guide on mounting a Starlink High Performance Dish to the side of your building – all without the worry of damaging your precious roof. This is for all of you who, like me, are searching for a sturdy, reliable, and cost-effective solution. So, let’s dive right in!
What You’ll Need:
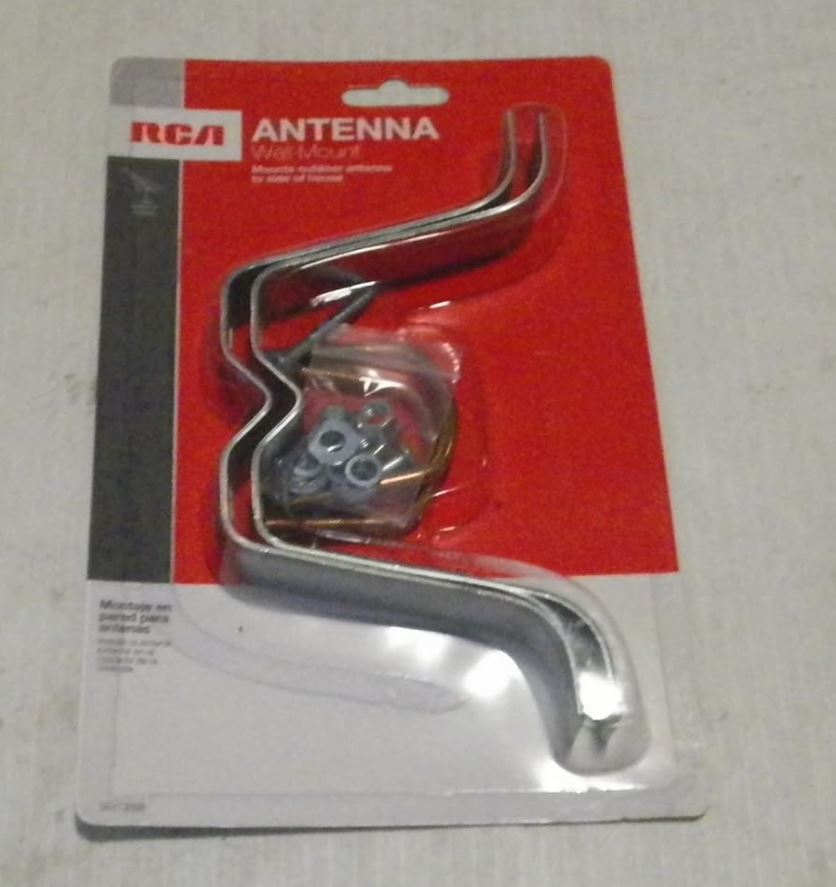
- RCA Antenna Wall Mount Bracket Kit: Easily found at your local big box store.
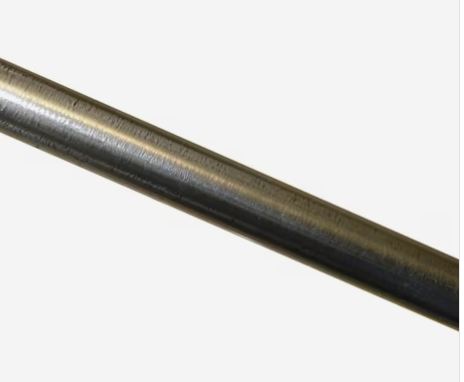
- 6 ft Chain-link Fence Post (Corner Post): A sturdy, rust-resistant option that’s lighter on the wallet than galvanized pipes. Plus, it’s the perfect fit for your Starlink mount. Also easily found at your local big boxer
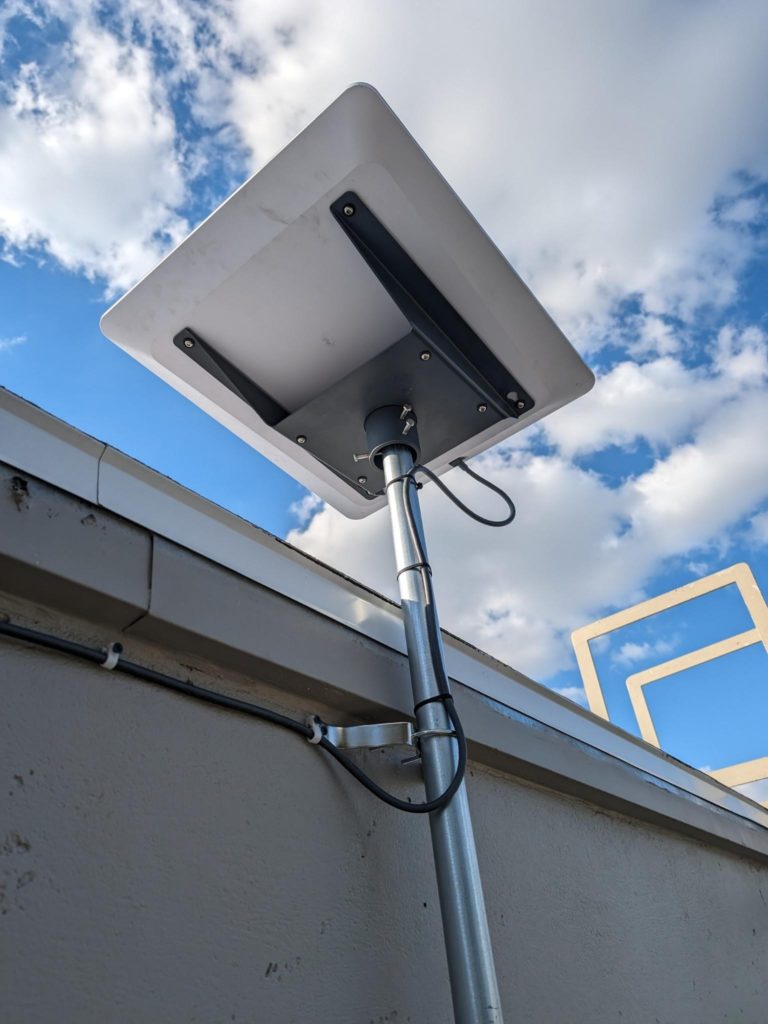
- Starlink High Performance Pipe Adapter: Essential for attaching the dish to the post. Bought straight from Starlink
- Longer U-Clamps: The ones with the antenna mount will NOT fit the chain-link post. Go to the hardware section of the Big Boxer and grab one that’s about 1.5″ longer
- Fastener Screws: Choose according to your building’s material – Tapcon screws for concrete, 3/8 Lag bolts for wood.
- Common Tools: Drill and wrench set.
Getting Started: Location, Location, Location
Before anything else, it’s crucial to find the perfect spot for your Starlink dish. You’re aiming for a clear, unobstructed view of the sky. In my case, facing north was the key, but this might vary based on your location. The Starlink App comes in handy here, offering a neat tool to help pinpoint the ideal installation spot.
Step-by-Step Installation:
- Assemble Your Mast: Attach your chain-link fence post to the RCA Antenna Mount, ensuring about 24 inches of distance between the two clamps for maximum stability.
- Choose the Perfect Spot: Aim for a high point on your building, keeping at least 16 inches of the pole above the roofline for a clear sky view. Use the Starlink app to assist in finding the best location.
- Mark and Drill: Hold the assembly against the building where you plan to mount it, mark the holes, and pre-drill them for easier installation.
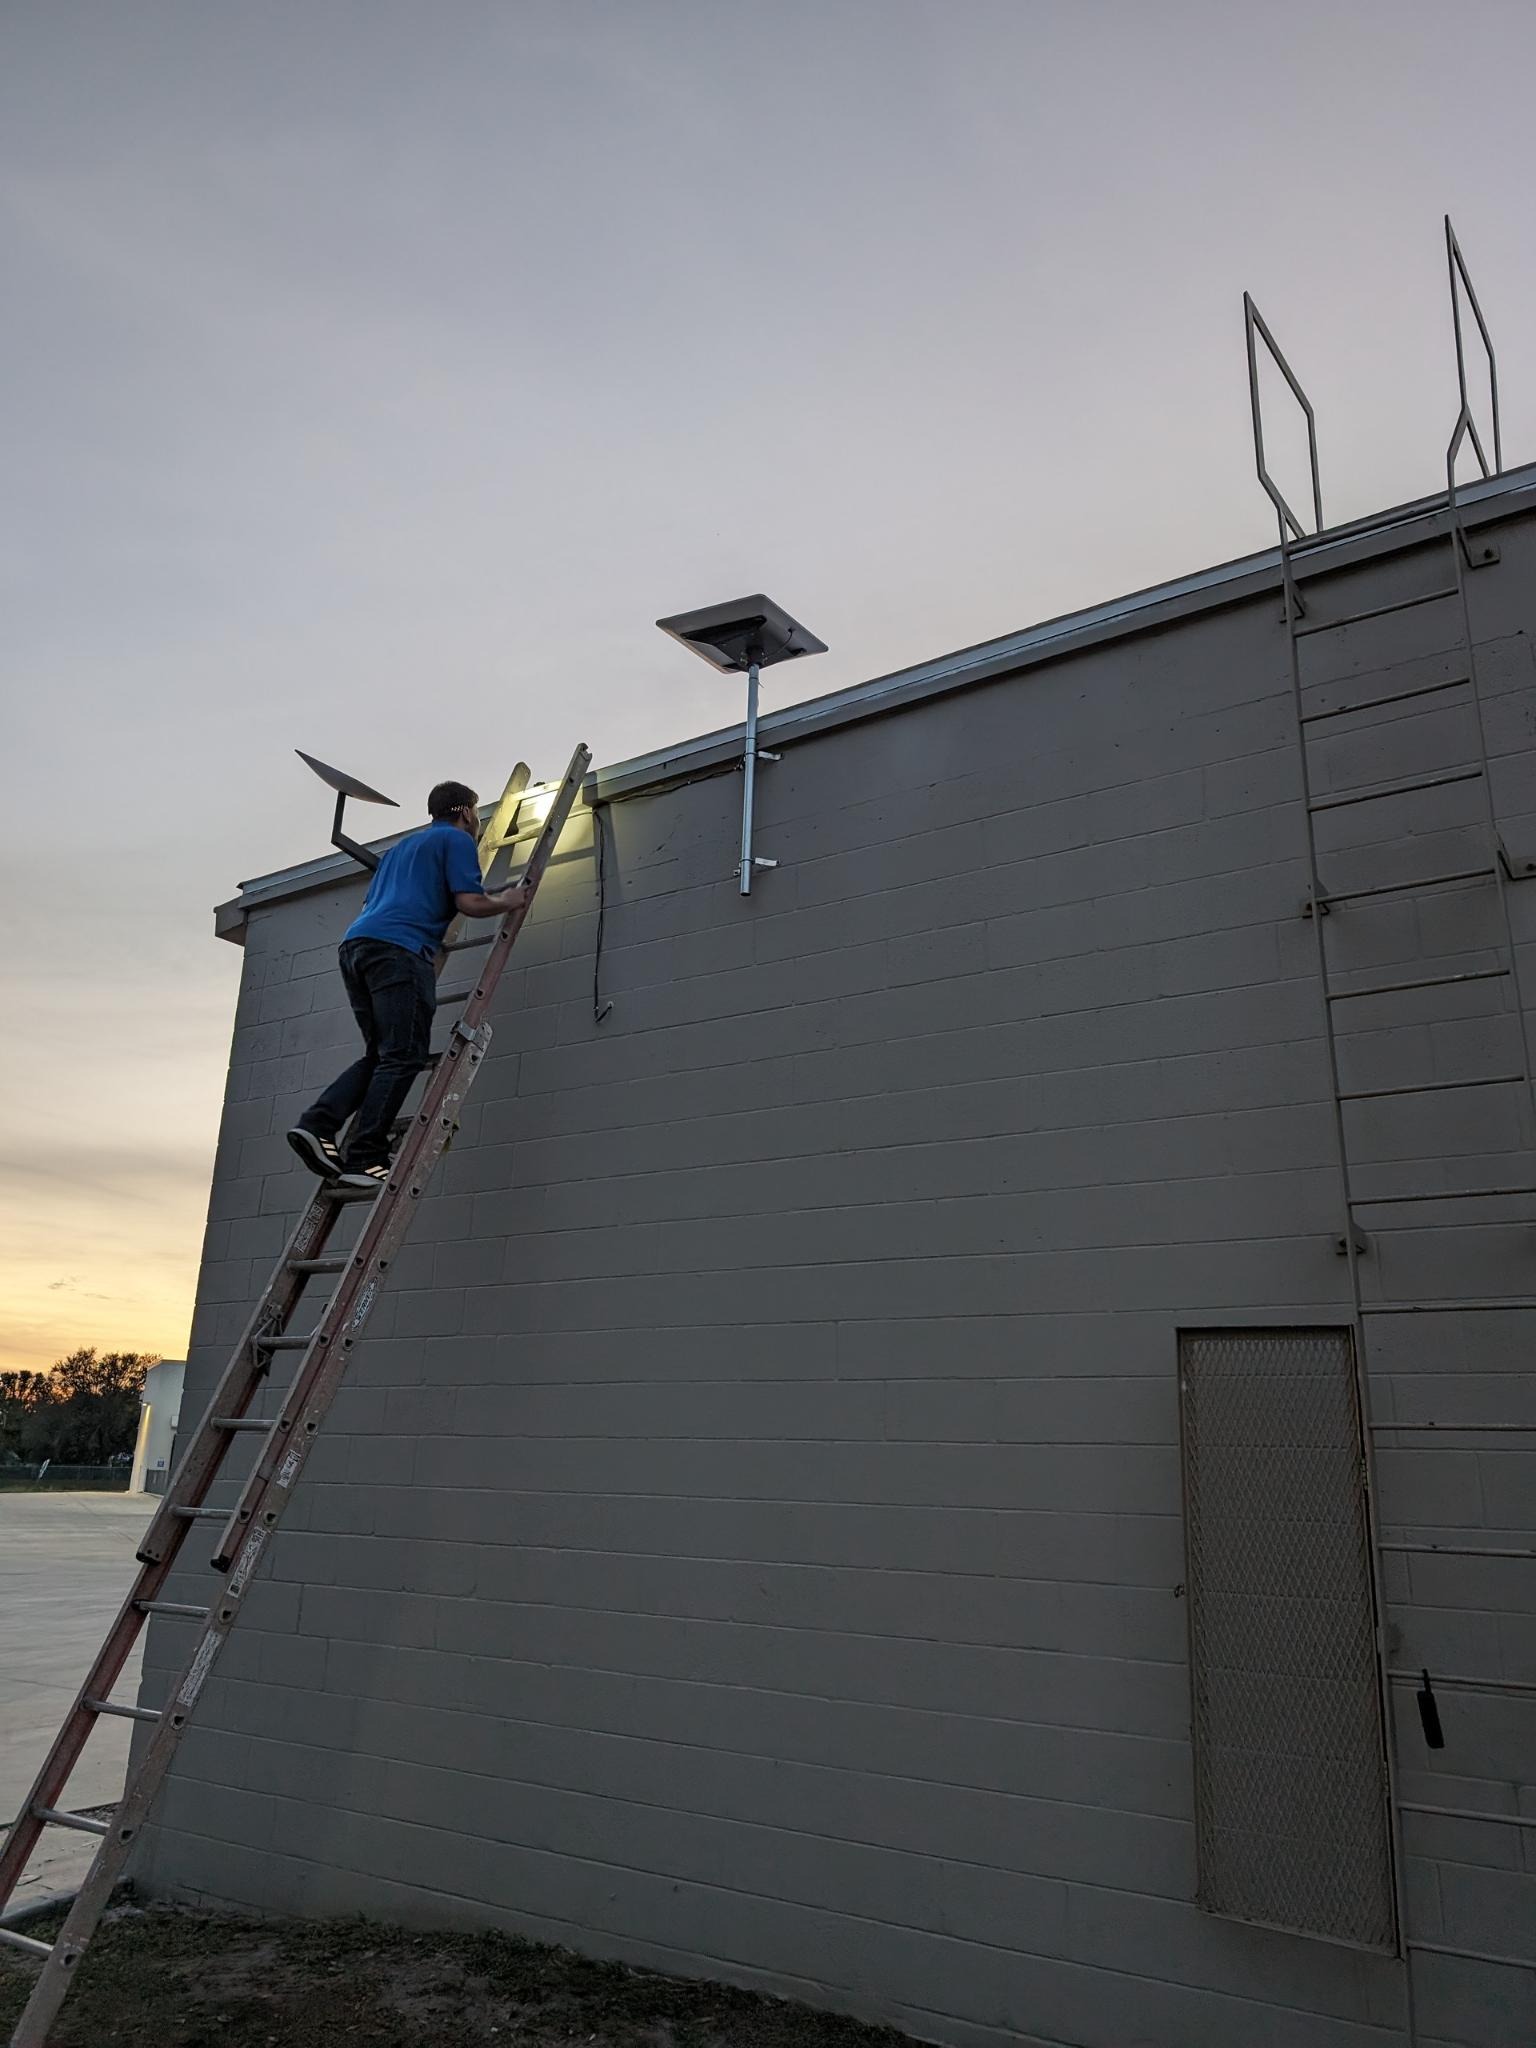
- Secure the Mast: Mount the mast to your building, ensuring it’s firmly attached. It helps to have a friend assist you, especially if you’re working on a ladder.
- Test the Mount: Give the mast a good shake to ensure there’s no movement. It needs to be rock-solid.
- Assembling the Dish: This is a bit heavy, so having a friend to help is a great idea. Assemble the pipe adapter on the ground first, pre-screwing the bolts into the pipe clamp.
- Mounting the Dish: Carefully climb up and place the Starlink dish onto the pipe clamp. Ensure it’s angled correctly, with the port at the bottom. Tighten the bolts securely.
- Final Steps: Connect the dish using the included cable, creating a drip loop to prevent water damage. Then, route the cable into your building.
Enjoy Your High-Speed Connection!
Once everything is set up, you’re ready to enjoy the blazing-fast internet speeds that Starlink offers. This setup not only guarantees a robust connection but also protects your roof from any potential damage.
I hope this guide helps you in your Starlink journey. If you’ve got any questions or additional tips, feel free to drop them in the comments. Let’s keep the conversation going!