Don’t fret! Building a custom computer is a lot easier than you think! It may seem daunting, but when you are finished, you will have a high-quality computer that fits perfectly with your needs and budget. There will also be a better warranty, and you will not have to follow any terms and conditions to redeem that warranty.
The good news is that when you build the computer yourself the durability, and the reliability of the computer are much higher than store-bought counterparts.
Building a Custom Computer
The First Step
Choosing the Parts
Finding the right parts is arguably the most challenging part. There are a lot of things that should be considered like the wattage of your PSU, the motherboard chipset, and the proper size of your case. However, there are many great resources out there to help you in your endeavors. One of my favorites is PCpartpicker.com
Using PCpartpicker’s website is relatively straightforward. Starting out, I suggest you look at their pre-configured builds. These builds have been thoroughly tested and vetted by the community, which alleviates the stress associated with the whole “will it work” mentality. A few tips when ordering:
- Don’t cheap out on a power supply, seriously. I know that they aren’t glamorous or give you extra frames, but the PSU is the lifeblood of your computer. If you use a cheap one, it will burn out and take out a few other (usually more expensive) components
- Don’t buy a cheap case with lots of flashing lights and chintzy fans. It might look pretty on Amazon’s marketplace, but you’ll look like a fool, and the lights will bother you at night
- You don’t need liquid cooling. The extra cooling you get is marginal, and they aren’t any quieter (whirring pumps & radiator fans)
- That being said, refrigeration is essential. Get a good CPU cooler and at least 2 case fans.
- A good thumb rule; the more significant the fan diameter, the quieter they are
- Buy a big SSD, at least 750GB; you’ll thank yourself later when you don’t have to install another hard drive when you want to install the next Grand Theft Auto
Step Two
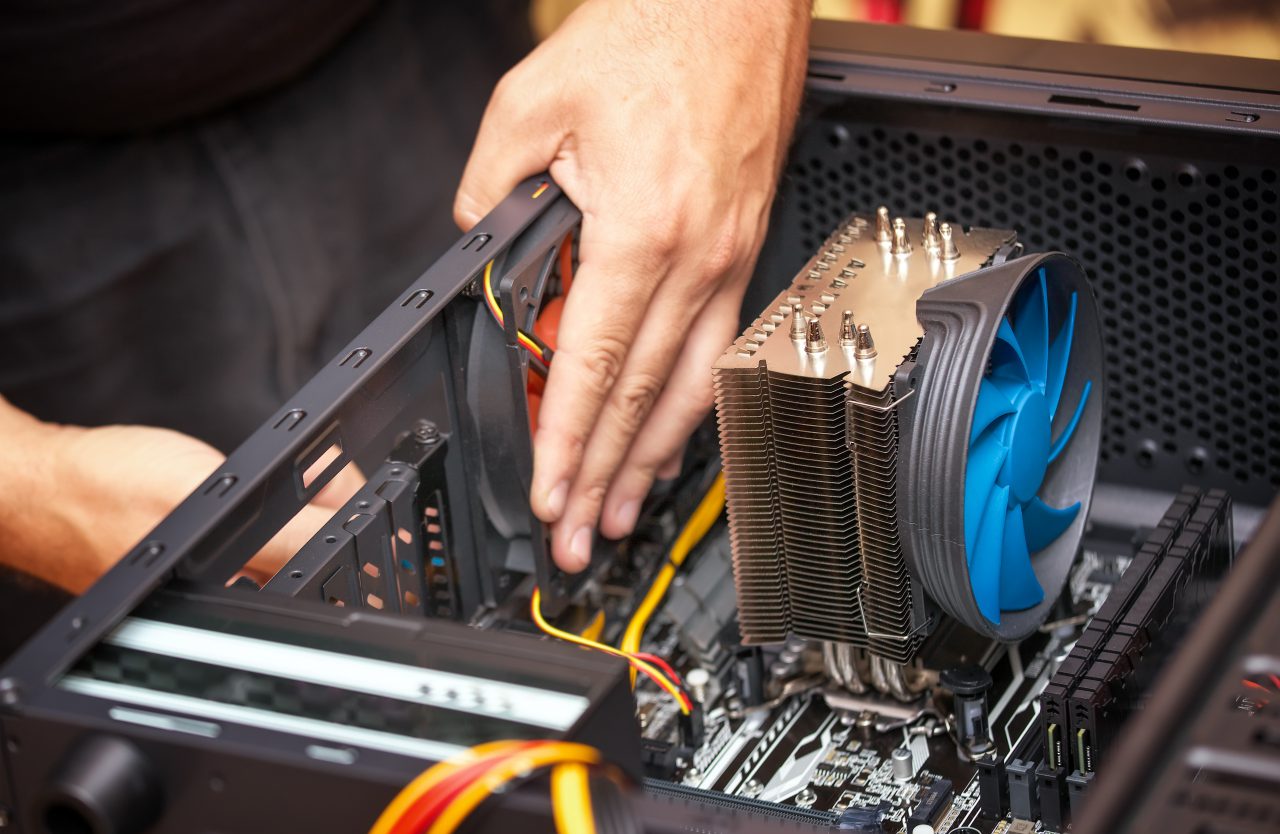
Assembling of the Computer
Computer assembly is the fun part. Start out with a clean workspace with lots of lighting. The tools you need are pretty simple, a Phillips head screwdriver, a razor blade, and some pliers will take care of 90% of your needs.
Now that you are starting the assembling, you will start it with the motherboard. The motherboard goes in first. You need to start by using the spacers provided by the motherboard manufacturer. Try to be careful about the spacer placement because when you mount the motherboard if the spacers aren’t placed correctly, they can ground out your motherboard and cause a boot failure.
Step Three
Assembling the CPU
CPU is said to be the brain of the computer system and from that how important it is. This critical part needs extra attention for the assembling. You must align pin 1 on your motherboard with pin 1 on the CPU before mounting. For the assembling, first you will need a fan to put it in there, and after that, you will follow the instruction regarding each part.
Step Four
Assembling RAM
RAM and memory are another vital part of the computer. You will need RAM and memory to run the programs on the computer and save the data and files. This is the next step. You will have to assemble the memory and RAM into the machine.
Step Five
Power Supply
The computer is a device that needs a good constant and clean source of electricity. If you want your computer to work, and turn on, you will necessarily require a power supply. Once you have added the power supply, your computer can now turn on and start functioning.
Step Six
Video Card
Next up is the video card. These days the video card is usually the largest and most expensive part of a computer. So take proper care when installing it. Also, many video cards require you to use a special power plug from the power supply, or it won’t boot on. Don’t forget to install it!
Step Seven
Assembling the Ports and Hard Drive
The hard drive is the storage bin of your computer. These days people have moved from the old-style 2.5″ disc-based drive to SSDs. SSDs are significantly faster than HDD and are a typically smaller size
Step Eight
Operating System
All the hardware assembling is done now. You only have to install the operating system into your computer. You can choose the operating system of your choice, which you feel comfortable to work with and which is the recent one with all the new features. Once you have installed the operating system, your custom computer building is now complete.
You can now work on your own computer. You should also install the antivirus just to keep your computer safe and secure. This is how a custom computer is built. This beginner’s guide will help you make your own custom computer.
We Can Help
As always, if you find assembly too daunting, Cellar Door offers Custom Computer Builder options to tackle any and all of your concerns